Supplies
Wooden picture frame
Canvas (Choose a size that will fit inside the frame)
Ceramcoat acrylic paint
Bristled paint brush
Tacky glue
Sand
Cardboard
Glazed shells
Tiny faux pearls
Starfish
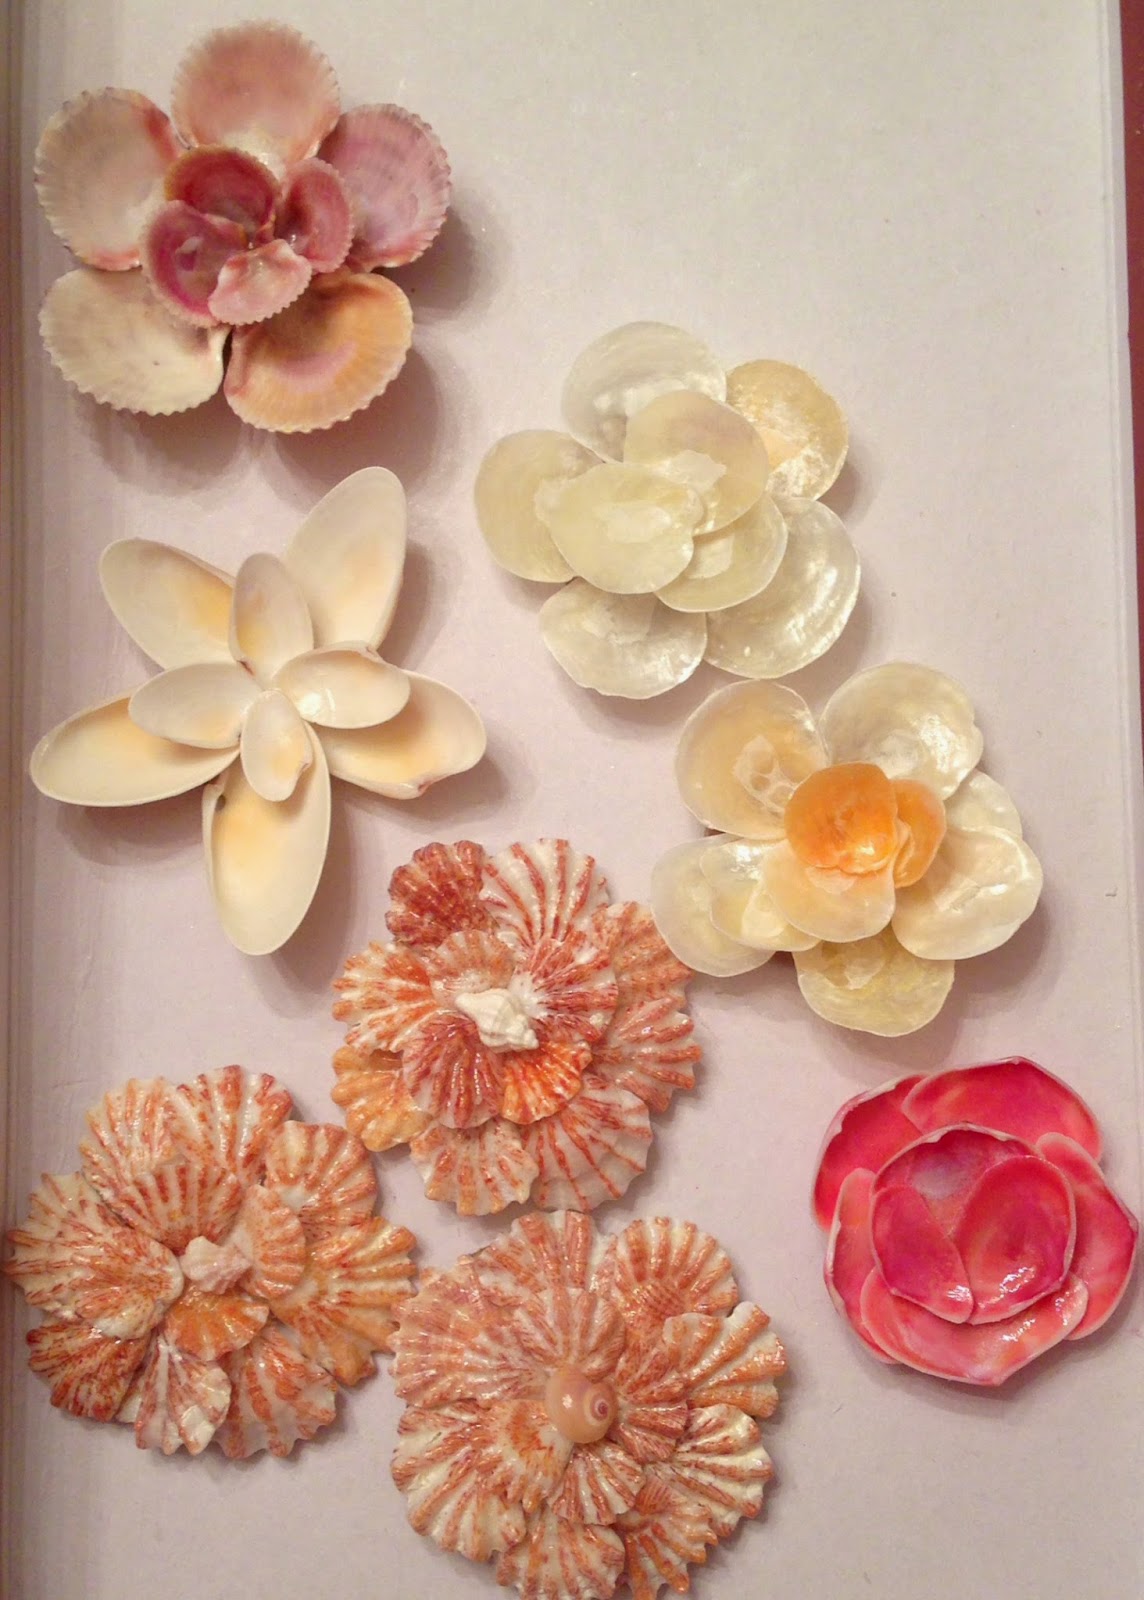
First, the flowers. These took a lot of trial and error! The key to keeping them sturdy is using a small piece of cardboard, around the size of a quarter, to anchor the shells. Cut these circles out and use them as a base when you begin constructing the flowers. Sort out shells that are the same type and of various sizes. The larger sizes are used for the first layer and the smaller ones for the second, inner layer. One by one use tacky glue to secure the sea shells to the cardboard. Let the first layer completely dry before constructing the second layer. (Hint: Tacky glue can take about a minute to bind stronger. Hold each "petal" in place until it feels secure, they start to droop if you work too quickly) Once the flowers are constructed, decorate the centers with small shells or tiny faux pearls.
Now you need a way to showcase your artwork! Take a wooden picture frame and remove the glass and backing. Using the bristled paint brush, paint the frame with two coats of acrylic paint. The bristles on the brush give a nice texture to the finish. Let dry.
Choose a thin blank, white canvas that will fit in the frame where the backing was previously secured. With the bristled paint brush put a thin coat of tacky glue across the canvas and cover with sand. Important: Make sure you cover your workplace with newspaper to avoid a mess! Gently tap excess sand off the canvas and let dry for at least 30-45 minutes. Once completelydry, apply a second thin coat of Tacky glue and repeat. This gives you a great backdrop for your flowers!
Secure the canvas into the frame with the fasteners in back. Now you are ready to arrange the flowers! Once the design is to your liking, use Tacky glue to affix each flower to the canvas. The cardboard behind each flower gives you an easy surface to spread the glue. Finally, I used two bleached starfish that I had purchased from a shell shop to complement my flowers!
My inspiration
In March, I attended the 34th Annual Marco Island Shell Show, presented by the Marco Shell Club. I was amazed by the artwork showcased here!! The creativity, execution and craftsmanship were superb. These women (&men!) are experts. Below are flowers that I used as inspiration for my crafting. I can only hope that one day my artwork will be at the level of these professionals!
 |
| How adorable is this garden scene?! |


No comments:
Post a Comment